Send Bulk Emails in Outlook from an Excel List
Problem to solve
Are you struggling with these manual tasks when sending bulk emails or individual messages? - Copying and pasting recipients one by one to send emails - The recipient list and email content are separate, requiring manual combination every time - There are many recipients, manual sending takes time, and there are concerns about missing or misdirected emails Using this recipe will free you from such tedious tasks. Power Automate automatically retrieves recipients and email content from a list created in Excel. Using Outlook, it automatically sends out individually customized emails in bulk to each person. By setting up this flow, manual email sending work becomes zero, saving a significant amount of time.
Completion Image
Ingredients
 Excel Connector
 Outlook Connector
How to make
You can create a list using Excel's table feature and also send newsletters with Power Automate.
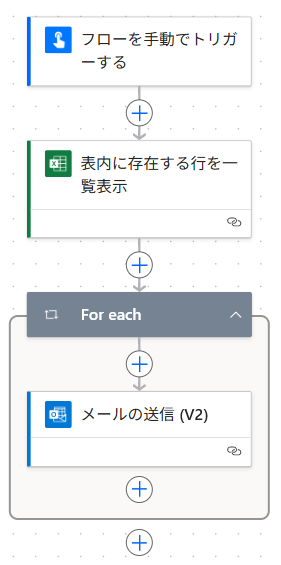
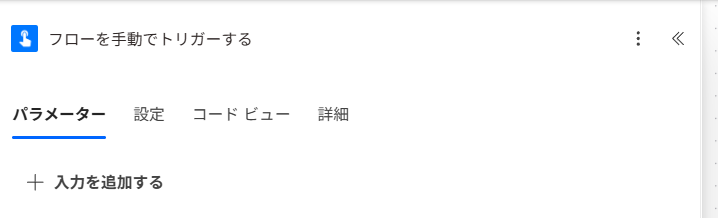
- 1. Set the trigger "Manually trigger a flow"
Sending bulk emails requires careful confirmation to prevent mistaken delivery.
The trigger can also be scheduled (specific date and time), but a manual trigger is recommended.
There are no specific settings to configure here.
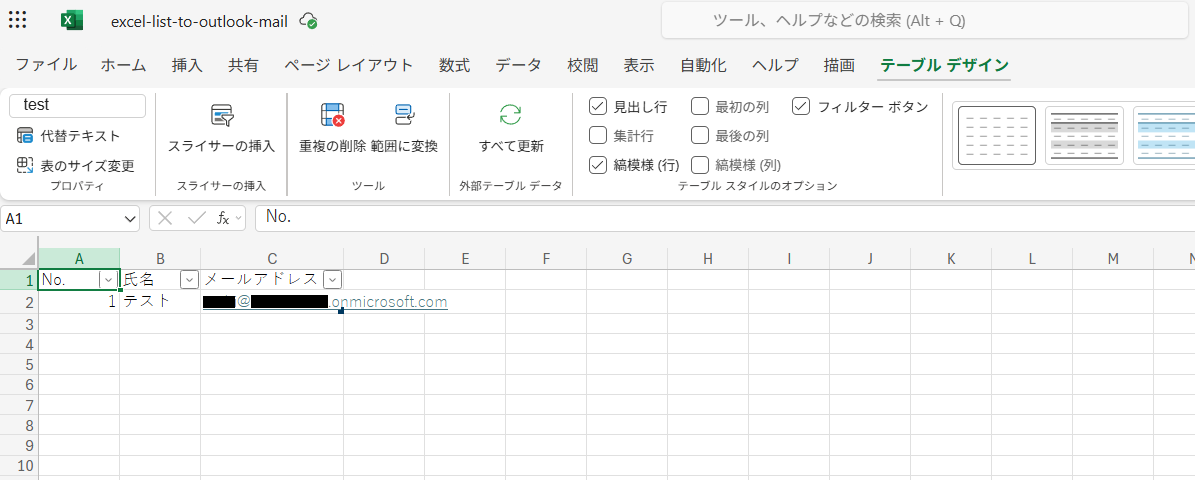
- 2. Create an email distribution list in Excel
As shown in the figure below, you can freely set the items, but it must be a table.
You can create a table from "Insert -> Table", and you can change the table name on the left side of the "Table Design" tab.
*Personally, it is good to prepare "Test" and "Production" sheets and create tables for each
The reason is to do a sending test with the "Test" table before sending in bulk
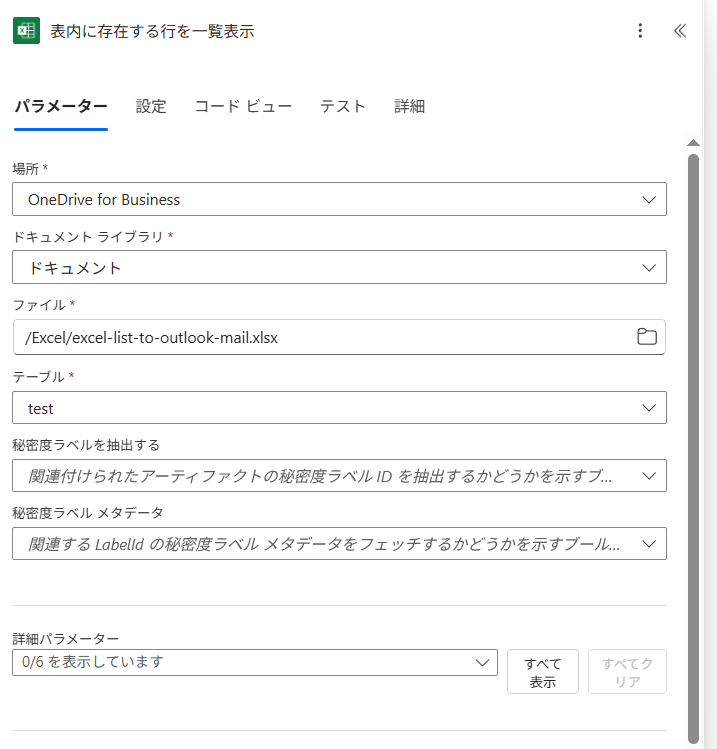
- 3. Set up the action "List rows present in a table"
Specify the Excel file and table created in step 2.
In addition to personal OneDrive, you can also specify Excel files in SharePoint or Teams.
The reason for changing the table name is to make it easier to understand when specifying it here.
- 4. Set up the action "For each"
This is the same as "Apply to each".
Even if you don't create it yourself, it will be automatically created when you configure step 5 (you can skip it).

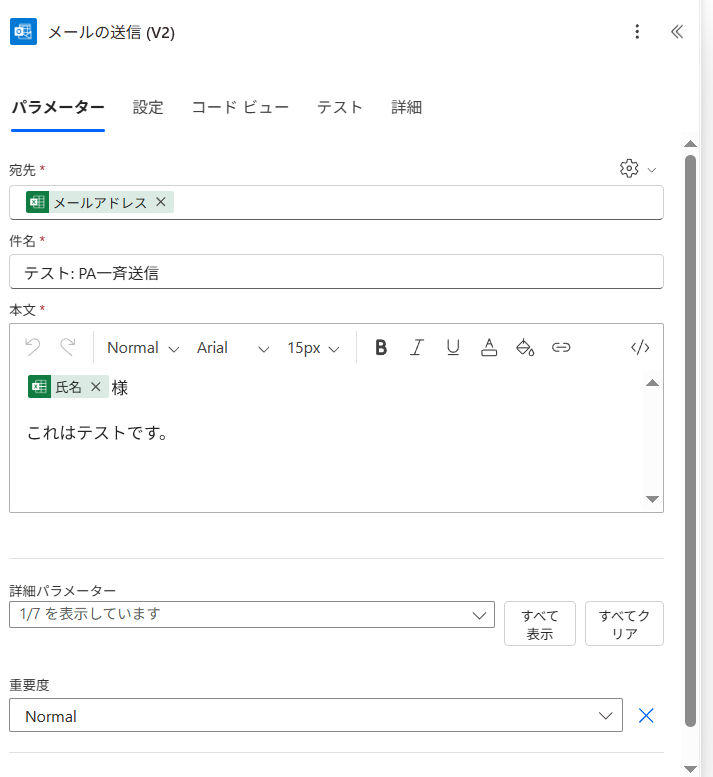
- 5. Set up the action "Send an email"
For [To], set the "Email Address" (when this is set, "For each" is created automatically).
*If there is no dynamic content insertion, you can select it by clicking the gear icon on the right
"Email Address" is the item name prepared in the Excel table
You can also use Excel table items in the [Body] (for example, "Name").
In addition, you can set the sender, Cc, etc. by selecting "Show advanced options".
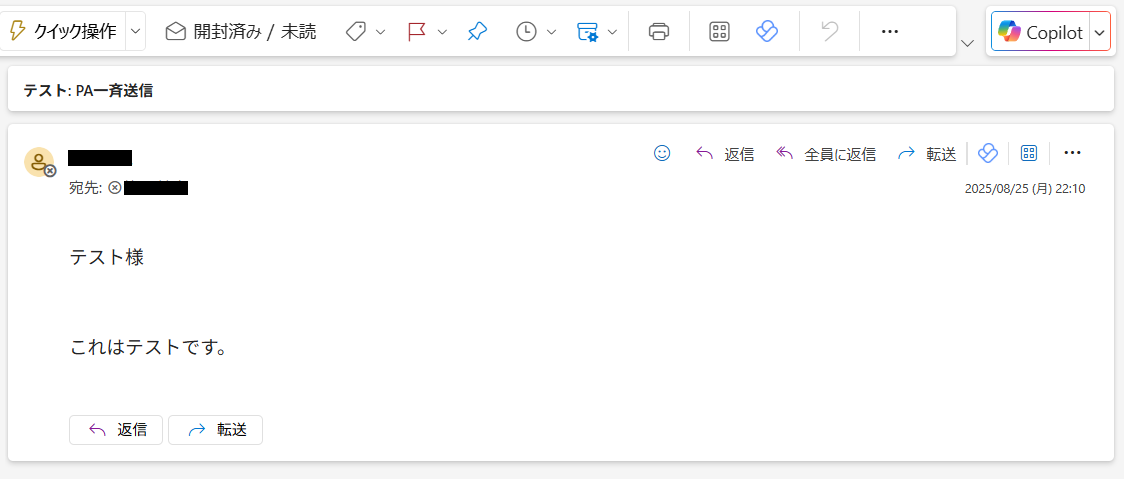
When you run the flow, an email like the one in the figure below will be delivered.
Related Recipes
No related recipes found.
Related Sites
Power BI Recipe Book
A recipe site for learning practical ways to use Power BI.
We introduce recipes by purpose and function. Create beautiful charts smoothly.
Getting Started with Power Apps
A recipe site for learning how to develop Power Apps from scratch.
No specialized knowledge is required, and we introduce practical recipes for daily work.